How to Be Heard – It Starts with the Audio Consoles in the Studio

If you have a passion for audio production, you already know that what happens behind the scenes has a huge impact on the audience’s listening experience. Today, we’re talking about audio consoles and their role in media, exploring:
- Different audio console types
- Key functions of an audio console
- How audio consoles are used for editing
Whether you call it an audio console, an audio mixer, board, desk, or any one of many other nicknames, there’s one thing you can say with certainty: this piece of equipment plays a vital role in media production, editing, and broadcasting.
If you’ve considered making audio production a career – or even just a hobby – you may have played around with an audio console. But to use this industry equipment to its fullest potential, you’ll need to learn more about what it does, how it works, and why it’s so important for digital media production.
What is an Audio Console?
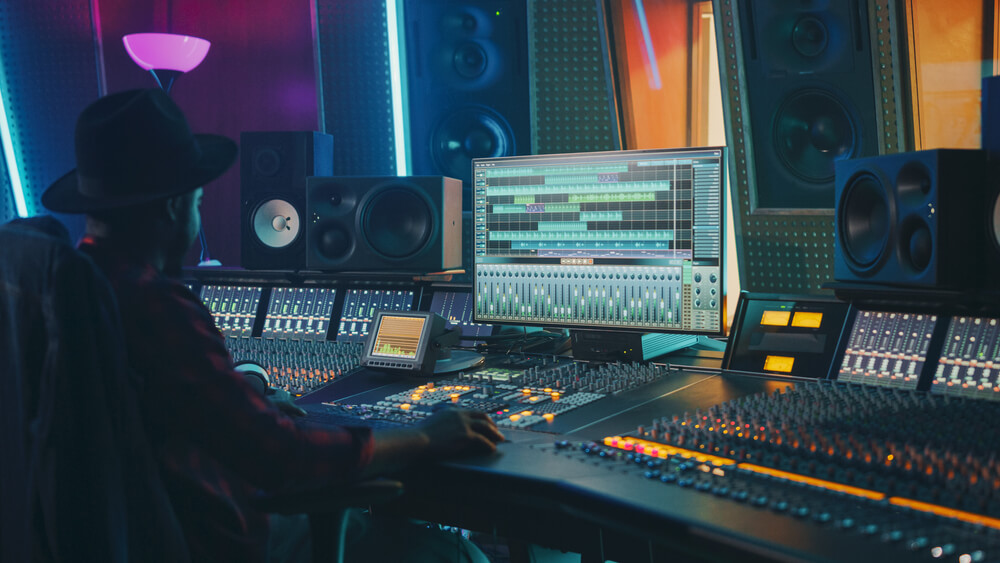
An audio console is a piece of equipment used to combine multiple sounds (signals), routing them to a common output for amplification or recording. The sounds can include signals transmitted by microphones, as well as those from electric instruments.
Audio consoles are used for film and television audio, broadcasting, podcasting, live sound, and music production in the media industry.
Types of Audio Consoles
There are many types of audio consoles, each one serving a specific purpose. Ranging from the fairly simple, tabletop devices that a hobbyist might use to a large-format console featured in a professional recording studio, audio mixers come in all shapes and sizes.
Generally, an audio mixer will fall into one of three categories:
- Fully-digital audio consoles
- True analog audio consoles
- Analog consoles with digital audio interfacing
A digital audio console is a popular choice for recording studios and live productions, such as concerts. A digital board offers automated mix recall capabilities, as well as savable mix templates. This means that specific settings, including the position of every single switch, button, knob, and fader, can be digitally recalled on demand.
As a result, an audio engineer can recall a specific template (that has been set ahead of time), then simply make minor adjustments. Most digital consoles include fader layering, which allows multiple input signals to be controlled by a single physical fader to control multiple input signals.
A true analog audio console does not come with any digital capabilities and requires all of the mixer’s direct outputs to be connected to the recording device. There isn’t any automated recall, either, so everything has to be manually recalled. However, there are certain creators that choose analog audio mixers for the sake of tonal capabilities, with certain models being considered “legacy consoles” (like the famous one in Abbey Road’s Studio 1).
One of the biggest benefits of analog audio consoles is their “summing” capability. Summing is a process by which signals from various channels can be combined, using only analog circuitry (wires, iron, faders, and electrical components). It adds a certain dimension to sound and is sometimes preferred for certain purposes or effects.
An analog console with digital audio interfacing is a sort of midpoint between the two types described above. This type of console receives and processes sounds/input signals in the analog realm. But then, direct DAW (digital audio workstation) integration is possible when it comes to output.
What are the Four Functions of an Audio Console?
An audio console has four core functions:
- Accept audio
- Combine audio
- Process audio
- Monitor audio
Not only do audio mixers record and adjust audio, but they can also be utilized as a part of the post-production editing processes.
The Parts of an Audio Console
When it comes to actually using an audio mixer, there are plenty of details and techniques to cover. But at the most basic level, you can get comfortable with consoles once you know your way around the channel strip.
Even though an audio mixer may have its own unique capabilities, all models share the same general layout and features. Learning about the components of an audio mixer channel strip will enable you to transfer your knowledge from one model to another.
Typically, an audio mixer channel strip has a structure that includes the following parts and features:
Input, equalization, and dynamics
An audio console’s preamp contains an XLR input, which includes a gain/trim pot for adjusting level. You can select either a line-level (such as electric guitar) or mic-level (microphone) signal as your signal source, depending on what you are producing. Some consoles also offer features such as a pad, polarity reversal switch, or high pass filter on the input section.
In the equalization (EQ) section, you’ll usually see either a 4-band parametric or semi-parametric set-up.
Large-format audio consoles also include a dynamics processing section, built with a gate/expander and compressor/limiter.
Auxiliary sends, channel fader, and pan pot
The aux sends are for routing the input signals to specific destinations, such as monitor mix sends.
Looking to the bottom of the audio console’s channel strip, you can expect to see the channel fader. A fader is a resistor that controls how much of a signal is allowed to “pass through.” Also, mute and solo buttons are generally positioned near the fader.
Finally, the pan pot is located above the fader and is used to place a signal into the stereo field.
What is the Use of an Audio Console in Editing?
An audio mixer is a staple of the recording and production processes, but it can also serve a purpose in editing as well. As part of an editing suite, the audio console is used to select the specific input source (what you want to listen to), adjust the volume, and monitor playback.
When an audio console is selected for editing purposes, it’s usually much more compact than the type preferred for actual recording. Sometimes, features such as XLR microphone inputs and preamps are included so that a microphone can be connected and used to record voiceovers during post-production.
Get Hands-On Experiences with Digital Media Production Now
Now that you’re armed with a basic understanding of audio consoles, you’re better prepared to learn how to actually use one. From there, you can develop your own sense of creative style and truly begin to explore your personal talents.
If you’ve ever considered working in the media industry, a combination of classroom learning and in-studio experiences can be a great first step towards your future career. As a student of Digital Media Production at the Beonair Network of Media Schools in Miami, Chicago, Colorado, and Ohio, you’ll split your studies between coursework and studio time. You’ll be able to build a well-rounded understanding of digital media production processes. Discover the aspects of production that you’re most interested in, then dive right into the practical application of your new skills.
Our campuses specialize in personalized education experiences that speak to each student’s interests and passions so that you can chart a path based on your own goals and dreams. And with internship opportunities and career guidance services, students at the Media Schools can pursue their fullest potential.
Contact us today for more information about our media career training courses and programs or to start the application process!
Image Source: Gorodenkoff / Shutterstock

